Steps to Professional Interior Painting
One of the quickest methods to improve the appearance of your home is to give your walls and ceilings a fresh coat of paint… Alternatively, if you have no idea what you’re doing, you can completely wreck it. Cheap brushes, hurriedly purchased paint, and improperly applied painting techniques may all turn a fun DIY project into nightmare stuff. You don’t have to go down that path, though. Make a cup of coffee and read the advice below to learn how to paint your home’s interior like a pro.
Step 1: Select Your Colors Carefully
Think about what your room’s purpose is.
In general, you will be working with two types of paints:
Warm colours. Red, yellow, beige, and orange are called vibrant or “warm” colours because they elicit emotions and stimulate the imagination. These work well in kitchens, dining and living rooms, and other high-traffic areas of the house.
Paints that are cool. Colors like green, blue, brown, and grey are used to represent this type. These colours are considered to have a calming impact on the mind, making them ideal for use in your bedroom, nursery, or office.
Step 2: Make Sure the Area Is Clear
Conduct a comprehensive examination.
You must be aware of any irregularities on your walls or ceiling in order to create an exquisite paint finish. Here’s how to repair scratches, dents, and other signs of wear and tear:
Before applying a fresh layer of primer and paint, lightly sand, scrape, and rinse any cracks, flakes, or peeling areas. If you omit this step, the old paint will disintegrate under the pressure of the new paint, and you’ll have to start over.
To clean oily patches on walls, dampen a sponge with dishwashing soap and water.
To eliminate dust from your walls and ceiling, use a moist cloth to wipe them off.
Protect your belongings against spillage.
Moving your items out of the to-be-painted room or rooms is the simplest approach to protect them. If that isn’t an option, make careful to protect the furniture, flooring, and electronic equipment with old blankets, drop cloths, and plastic bags.
After then, turn off all of the lights in the building. You can also use small plastic bags to cover your doorknobs, which you can secure with tape. Lastly, remove all light switch and outlet covers – this will only take you five minutes, but will save you loads of scrubbing potential unwanted harm to your property.
Step 3: Prepare the Pattern for the Surfaces
Walls and ceilings are treated before they are painted.
If your walls have already been painted, you don’t necessarily need to apply a primer, but you will need to do some maintenance work to ensure that your fresh paint adheres to the surface.
Clean your walls of stains and dust. Dishwashing soap and water can remove any smudges. After that, give everything a good rinse and let the walls dry overnight.
Remove any old paint flakes using a scraper. Make the surface nice and even with a paint scraper.
Fill up dents, grooves, and holes. You can conceal such flaws with the polyfilla of your choice. Use a filling knife to carefully apply the material, then use a wet knife to smooth out the patched-up area. Only sand the places when they’ve completely dried.
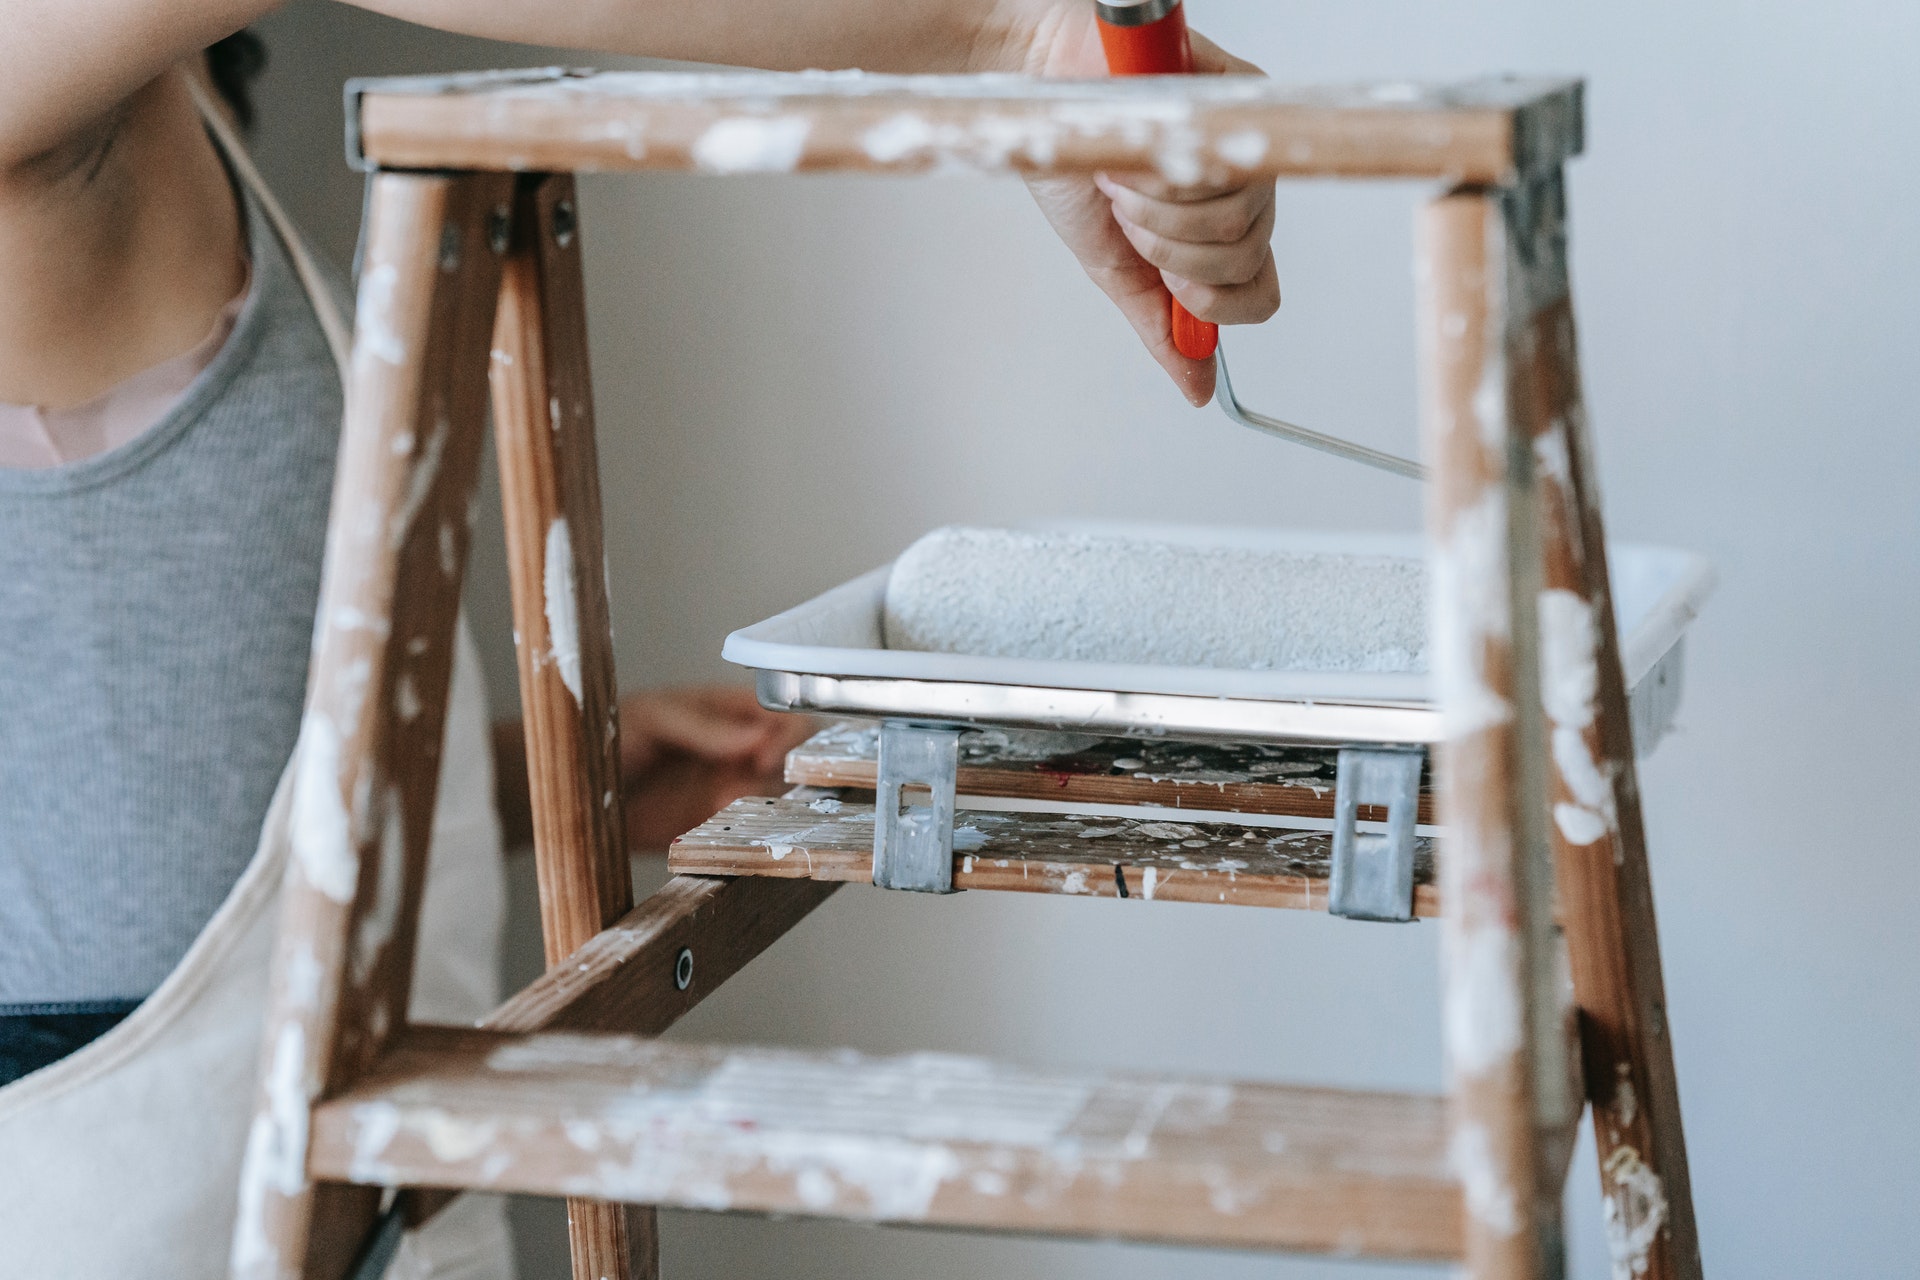
Step 4: Using the Paintbrush
First and foremost, painters san diego use masking tape to protect your trim work.
It’s difficult, but not impossible, to paint a ceiling on your own. Take a look at the following suggestions:
- Make a cut in the ceiling’s edges. Create two 12-inch-wide strips without touching the wall with a paint edger. Instead, use a brush and a trim guard if you have a cornice.
- Make a mental grid out of your ceiling. To obtain smooth results, attach an extension pole to your roller and paint your imaginary ceiling grid square by square.
- Don’t go overboard on the paint. To remove excess paint from your roller, use back and forth motions over the shallow end of the painting tray.